



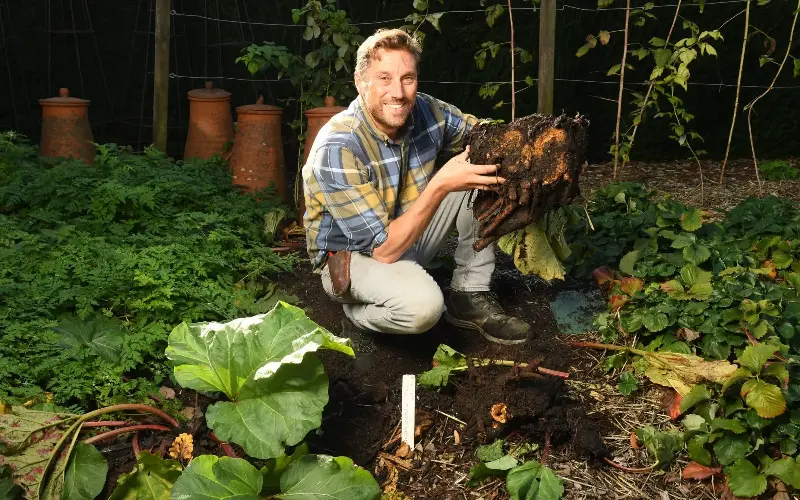
When writing about jobs to be getting on with in your garden during the autumn, I need a degree of artistic licence, as the regularity and reliability of frosts and predictable weather seem to be more elusive.
Regardless of what lies before us weather-wise, the autumn is a perfect time to take stock and prepare for all the possibilities that next year will bring.
Gardening isn’t instant, it’s accumulative. All these little nudges and tweaks that can be implemented now will bear fruit and help you to be more on top of things, horticulturally speaking, in the months to come.
Beds and borders
Prune buddleia
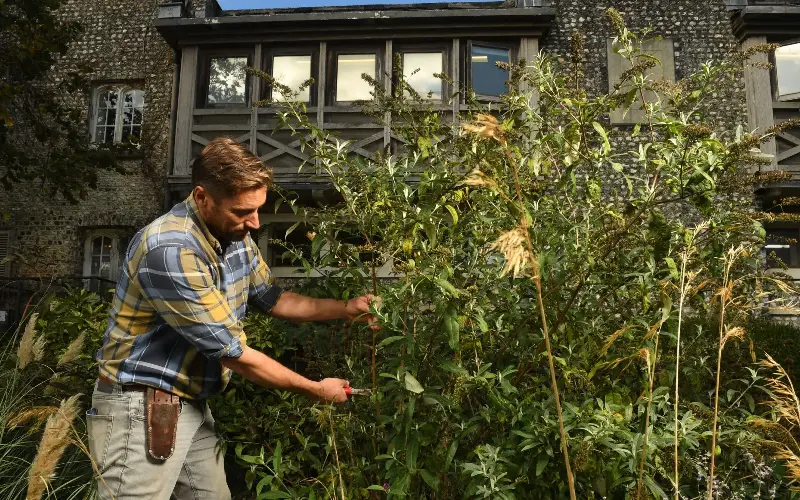
These repeat-flowering, reliable shrubs are often overlooked and scoffed at because of their ability to self-seed, but as we search for more robust plants, perhaps we should be more appreciative of buddleia.
Because of the amount of growth that these shrubs achieve in a year, they can be vulnerable during the autumn and winter to root rock. The large canopy can catch the wind, causing the shrub to rock backwards and forwards. To avoid this from happening, when the flowers have had their final flush, reduce the height of the shrub by 50 per cent.
There is no need to cut to a bud (although this is a hard habit to break) as we’ll be reducing the shrub further the following spring. The reduction of the canopy lessens the sail effect in the wind, keeping the buddleia firmly anchored. I’d remove any thin or crossing areas at this stage too, leaving a tidy and more aesthetically pleasing shape.
Protect young trees
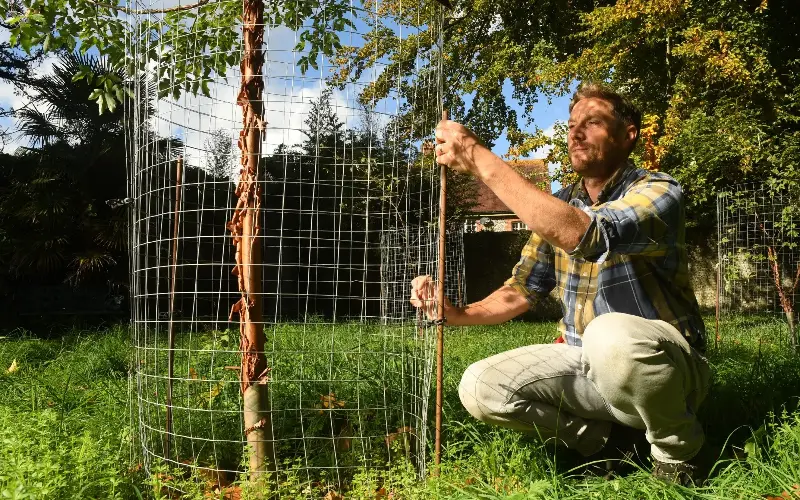
As colder weather arrives, animals need to be more resourceful to find nourishment. This can be bad news for young trees, as rabbits look to strip their bark and enjoy the sap and sugars beneath.
To prevent this damage, make sure that any juvenile trees are protected with rabbit guards or a wire mesh barrier. I tend to give my young trees an MOT in late autumn by clearing any competing weeds and mulching a circle, 1m in diameter, around the base, which stands the tree in good stead for the next growing season.
Cover tree ferns
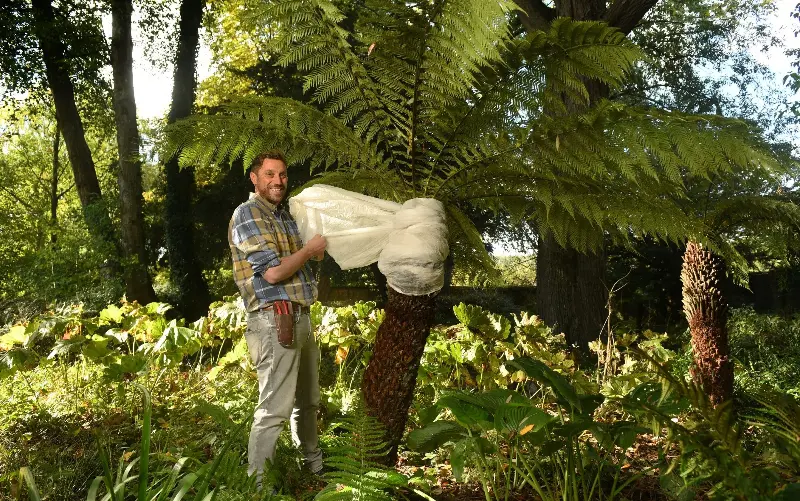
For those of us who garden in urban environments or in the South, it may be perfectly plausible for our tree ferns to make it through the winter with little or no protection whatsoever.
For those who garden where frosts and persistent cold temperatures are more of a factor, protecting these beautiful and often expensive plants is a must. Ideally, we need to protect these plants before the onset of the winter weather.
There is a distinct slowing down of growth at this time of year, which is a trigger to act and put that protection in place. Tree fern hardiness will increase with age. It may be that if you have a small tree fern in a pot then they can simply be placed into a cool conservatory or greenhouse.
For larger tree fern specimens, it is advisable to get a length of horticultural fleece and wrap it around the top of the trunk in a figure-of-eight pattern with the ambition of insulating the top 30cm where the foliage has emerged, and paying particular attention to the crown at the centre of the top. We aim to keep the foliage intact as this will continue to feed and protect the tree fern through the winter and the fleece will insulate the business end of the tree fern.
Lift dahlias
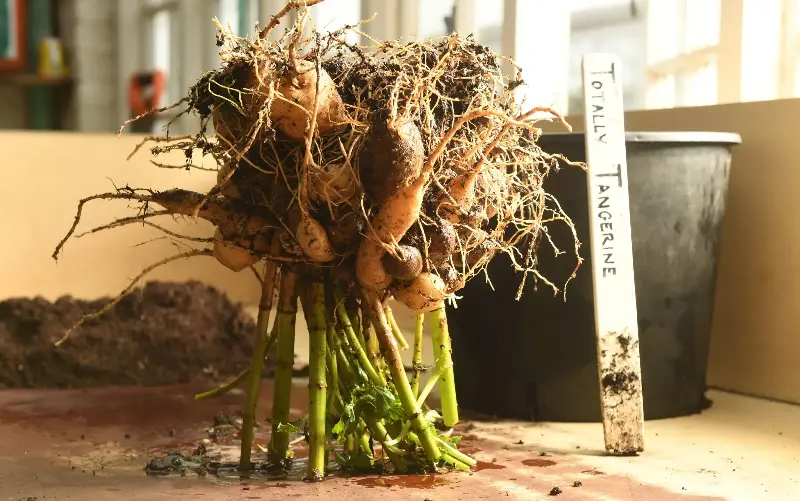
There are many different approaches and opinions concerning whether to lift or not to lift our dahlias to get them through the winter. It very much depends upon how wet your soil becomes during the winter, and I find that some varieties are tougher than others. Of all the options, lifting and storing your tubers in dry compost in a frost-free garage or shed seems to be a more reliable way of getting most of your plants through to the next year.
Here’s the process:
1. After the first frost, when the dahlia foliage has blackened at the tips, cut the plants down to 15cm high, the cut stems acting as a tripod to support the upturned tuber.
2. Turn the tuber upside down overnight in a frost-free place to allow any excess moisture to escape.
3. The next day, pot the dahlias in a plastic pot to the same level that is large enough to house the fragile roots and tubers. I often use old compost from my summer containers as there is no fertiliser or nutrition required by the dahlia at this stage.
4. Place in a frost-free and dark place until March when new shoots will emerge. The dahlia can then be brought into a better-lit place such as a conservatory, porch or greenhouse.
Fruit and vegetables
Mulch bare soil
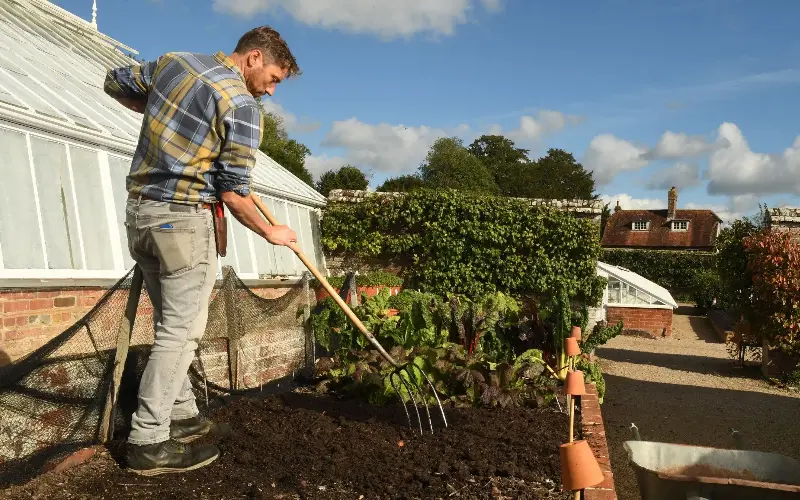
Soil can be eroded by the wind, become compacted by heavy rain and leach nutrients during the winter, so to protect the soil and reduce weeds, add a layer of mulch, between 5cm and 10cm. Green waste composts are nutrient rich and help to retain moisture, which I find best when growing fruit and veg. Although straw-based and spent mushroom compost may be lighter and easier to work, I have found that they offer little nutrition but are effective as a weed suppressant.
Harvest leeks
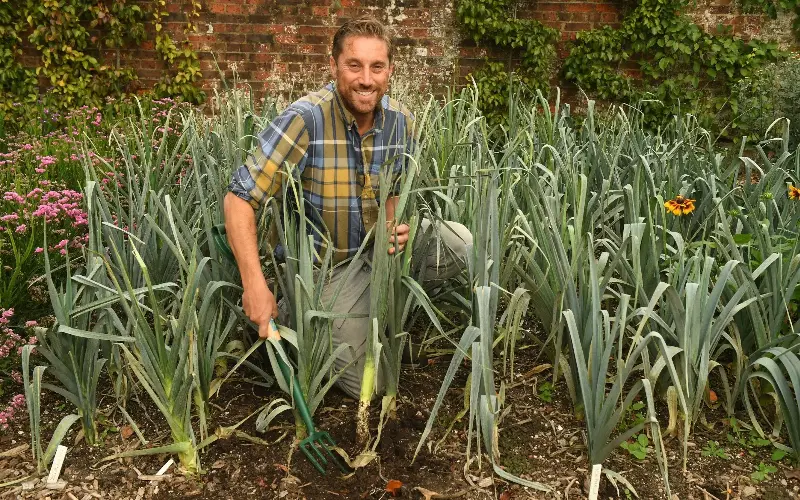
Leeks can be harvested from now until the new year. Varieties with blue foliage tend to be more resistant to the cold weather and persist for longer. Navajo is a variety that I’ve grown for several years and find that it’s reliable into January. Lifting them with a garden fork is the easiest method, but be conscious not to damage the leek with the prongs of the fork.
Your leeks may produce flowers, which will be a stress response to either dry conditions, poor establishment or because of the variety, lacking resistance when triggered by cold weather following a warmer spell. Seek out those varieties with Awards of Garden Merit (AGMs) for a better chance of success. Remove any flowers that appear, as these tight green buds called scapes can be eaten. Once a flowering bud has been produced, the neck of the leek becomes woody and bitter and often has a disappointing flavour.
Take hardwood cuttings from blackcurrants
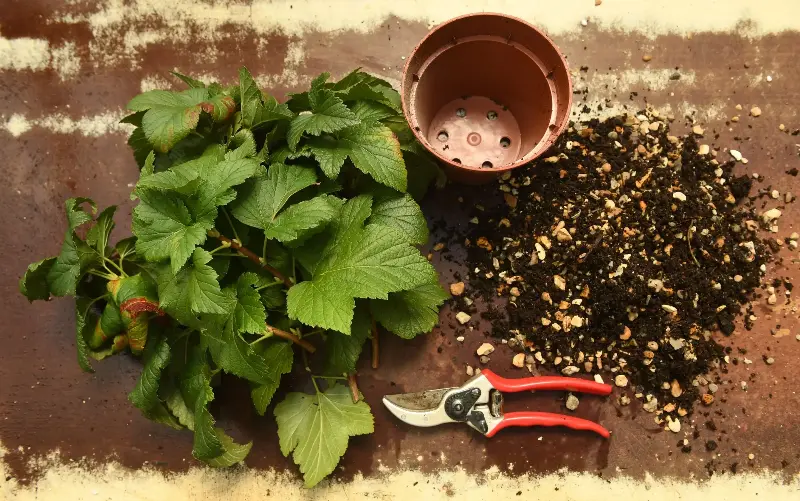
Hardwood cuttings harness stored carbohydrates in the stems from the summer and turn that energy into producing roots during their dormant period. We take advantage of this as gardeners, making hardwood cuttings one of the easiest forms of propagation. Take a cutting that’s about 10cm long and remove the lower leaves from the bottom two thirds.
Cut just below a leaf node at the base of the cutting and insert by three quarters into a mixture of peat-free compost and grit (50/50) for extra drainage and aeration, which will encourage rooting. Keep in a cool and well-lit place and do not allow to dry out until roots appear through the drainage holes at the base of the pot.
Cut down asparagus fronds
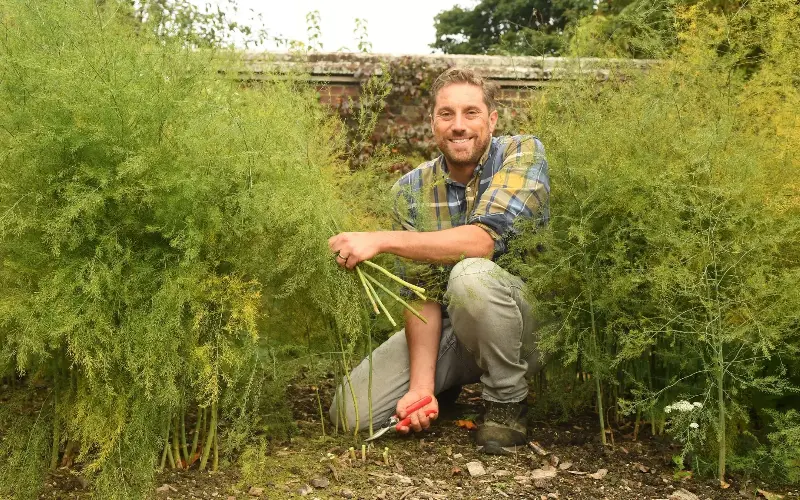
By now, asparagus foliage should have turned a straw colour, which means that it is no longer providing nutrition for the root system below. We have a couple of options: leave the stems, which can provide a habitat for overwintering insects, or cut them down to a few centimetres and add the stems to your compost heap to benefit the wildlife there.
Remove any compaction by lightly forking around the plants, which will improve air circulation and water penetration during the winter.
Sow broad beans
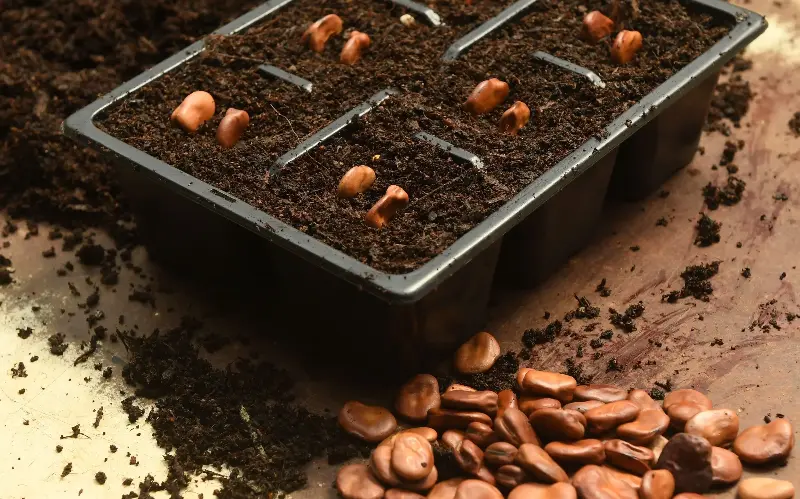
Broad beans do particularly well in fertile and well-drained soil in a sunny position. ‘Aquadulce’ is one of the most popular varieties for autumn sowing and we have two options: direct sowing or starting them off in modules or trays. For direct sowing, make two parallel, shallow furrows about 30cm apart and place a couple of seeds together 5cm deep and 15cm apart.
Cover the seeds and keep an eye out for mice. Alternatively, sow two seeds in a module and grow them on until they are large enough to plant out at the same spacings. The reason for sowing two seeds is to ensure that you get at least one of those seeds germinating. Brutally, if both grow, you then cut the weaker off at the base with a pair of scissors to allow one plant to flourish.
Divide and plant rhubarb
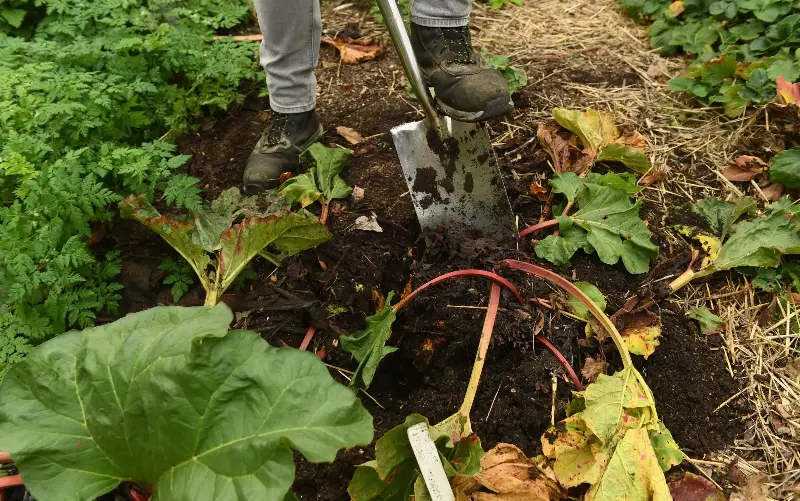
Rhubarb growing is seeing a resurgence – rightly so, as it’s so easy to grow and will tolerate growing in more shaded parts of the garden. November is a perfect time for planting rhubarb and also for dividing existing clumps. The foliage should have died down by now and you can be quite brutal with the crown when it comes to division. Lift the crown with a spade, making sure that you give the plant a reasonable root ball.
You can then divide the plant with a sharp spade by simply cutting through the crown, making sure that you replant a piece that is at least the size of a dinner plate with a few buds and a good number of roots too. Rhubarb loves fertile soil, so dig in lots of well-rotted manure or compost and liberally mulch. Rhubarb ‘Fulton’s Strawberry Surprise’ is one of the best-tasting varieties and is available from Thompson and Morgan, try ‘Valentine’ too, which is available from crocus.
Plant garlic
I was given some great advice a few years ago, after struggling to grow garlic successfully: plant on the shortest day and harvest it on the longest. That advice has stood me in good stead as good root development is essential (brought on by the lower light levels and cooler temperatures) before the warmer, longer days encourage the leaves.
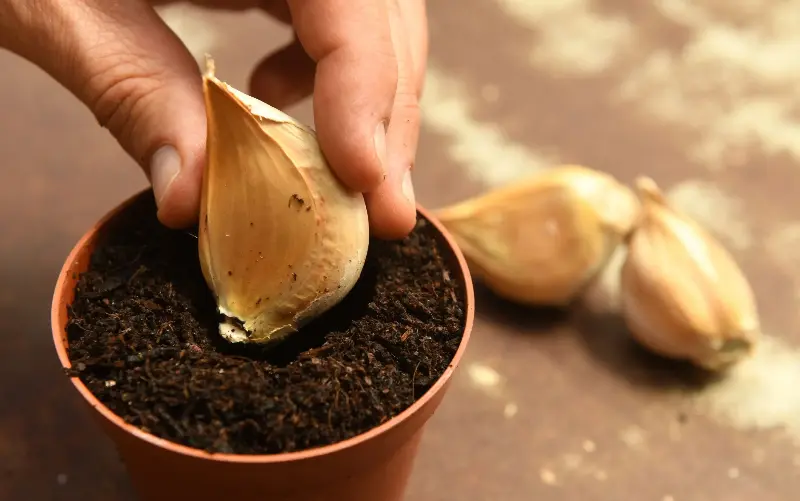
When it comes to deciding whether to plant our garlic out directly into the soil or to pop them into small pots first, I recommend starting your garlic in pots first to allow those roots to develop. My other reason for using small pots or modules is that I was in a perpetual battle with crows that insisted on pulling my freshly planted garlic cloves out of the ground for their entertainment. Garlic needs a couple of months of colder temperatures, so don’t be tempted to “get them going” in a warm environment, you’ll be disappointed at harvest time.
A 9cm pot of peat-free compost with a garlic clove buried to the point whereby the tip is just visible is ideal. Plant your cloves into pots, water them in well, and only water from then on to prevent the compost drying out. Under a bench of an unheated greenhouse or shed will work well, remembering that we need cool and dark conditions initially to promote strong roots, meaning that very little light is needed at this stage; it’s only when the shoots appear that we need to move the cloves into a cool and well-lit spot. Planting can take place around the middle of December, applying a handful of Growmore per square metre just before you plant. Each clove should be spaced 15cm apart, either in a group or in a row.
Greenhouses and houseplants
Sow sweet peas
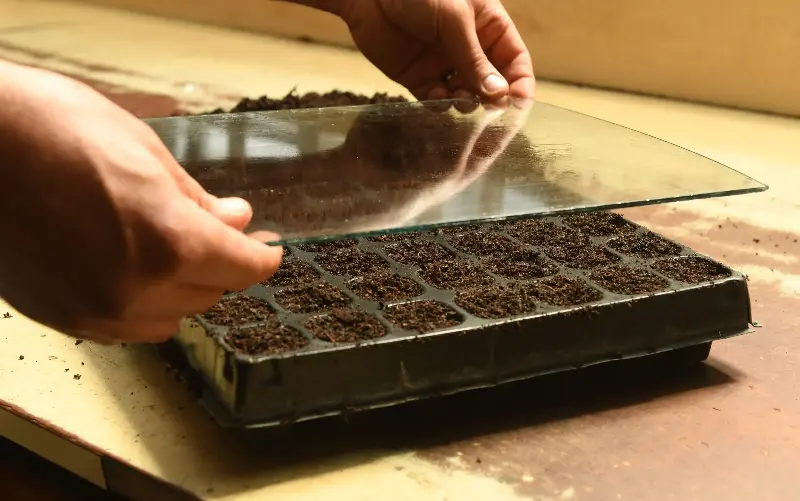
Now is the time to sow sweet peas for an earlier flush of flowers, compared with those sown in the spring. There are a few confusing techniques out there about soaking seeds and chitting, but I’ve never had a problem by simply pushing a single seed into the seed module so that it’s well covered. Water thoroughly and place them in a cool, bright place for planting out in March. Your biggest problem will be mice. Make sure that you sow your sweet peas somewhere rodent-proof, or cover the seeds with glass or mesh as a physical barrier.
Vent greenhouses

The damp conditions can be a greenhouse gardener’s biggest enemy in the autumn and winter. On those bright, sunny days, take the opportunity to open that door and vents to dry out the atmosphere and increase air circulation. These drier conditions will help reduce fungal diseases and rot, particularly when overwintering salvias and succulents. Make sure that you shut your vents and doors before the sun and solar warmth start to dwindle, to trap and retain that solar energy for your plants, usually around 3pm.
Monitor aphids and whitefly
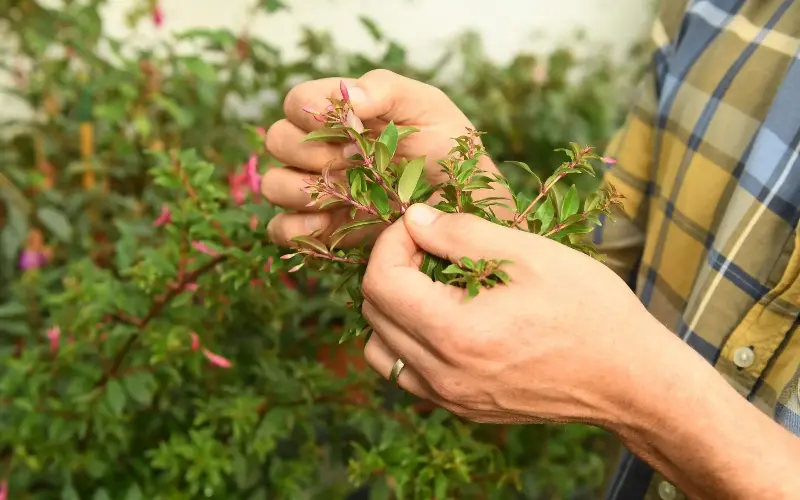
Lush cuttings that were taken in the late summer have put on lots of growth in our greenhouses, which is positive and an indication of healthy root systems going into the winter. Whiteflies adore this warmer environment and all that soft growth and, before you know it, they’re abundant and flying everywhere.
Use SB Plant Invigorator once a week and spray the cuttings until the diluted solution runs off the foliage, paying attention to the underside of the leaves too. Once the whitefly levels are under control, you can reduce the frequency of the spray, particularly as the colder weather sets in. I couple this approach with a series of yellow sticky traps suspended above the cuttings, which also trap the whitefly and act as a monitoring system to see how many I’m dealing with.
Relocate houseplants away from radiators
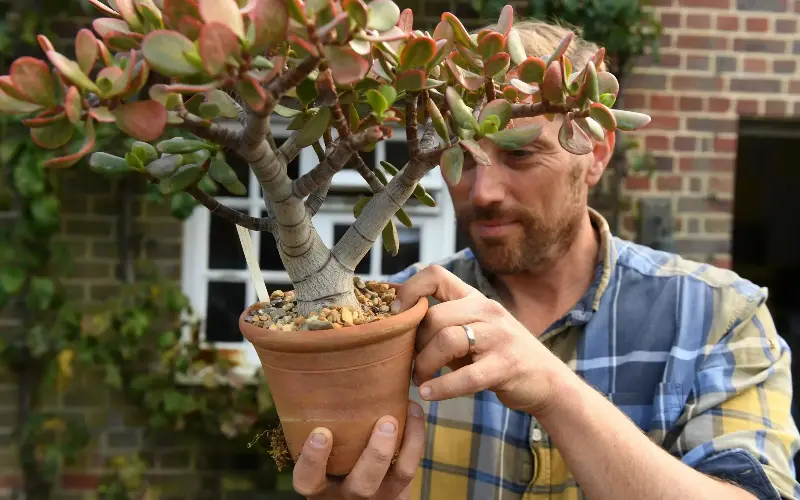
As we put our central heating on, this can cause fluctuating temperatures, which houseplants hate. If you have plants that were positioned near radiators during the summer, move them away from heat for the winter. Varying temperatures often result in leaf drop, provide as much light as you can, alongside that stable temperature and remember that the biggest killer of houseplants is overwatering.
Growth rates are very low during the winter, so our plants don’t require lots of water and food – often, just enough to keep them alive. It is easy to revive a plant if it’s too dry but almost impossible to resurrect a waterlogged, sodden one. Use your finger as a guide, push it into the compost and if you sense moisture then don’t water. Allow any surplus water to drain away from the pot, avoiding the roots sitting in a pool of water.
Lawns
Service your lawnmower
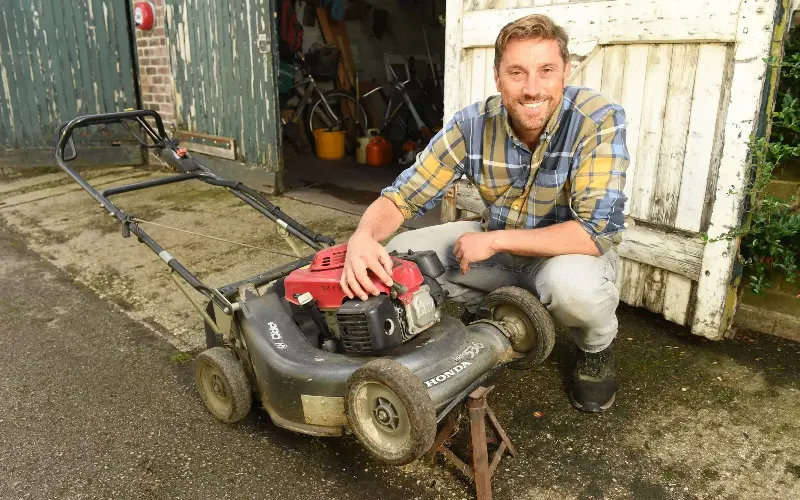
We can take them for granted as we drag them out of our sheds and garages each week, but it’s a good time of year to show your lawnmower some love with an annual service. Companies that carry out services can become busy during the winter, so it’ll serve you well to get yours booked in nice and early before the rush. An annual service will extend the lifespan of your mower and improve its performance during the summer.
It is so frustrating when our lawnmowers go wrong when the grass is growing quickly – a service can spot any issues and sort them, ensuring that your machine is fit for cutting season. A service entails filter, oil and spark plug changes as well as a blade check and sharpen. For the more mechanically competent of us (not including myself!), this can be carried out at home, but otherwise contact your local lawn mower dealer for prices and availability.
Go easy on the scarifying
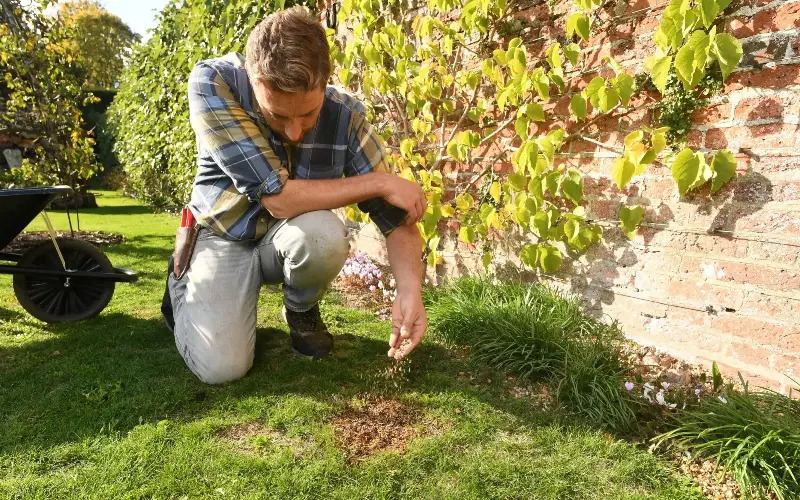
After such a dry summer, most lawns will be recovering as the temperatures drop and there is a bit more rain around. Avoid scarifying lawns that are struggling to recover, as the tearing of roots and disturbance may lead to further damage. Wait until the spring when the turf has recovered before addressing the moss and thatch.
For bare patches that have sunken somewhat, use a mixture of topsoil and sand to bring the level up. I find that mixing a little compost with my grass seed helps me to distribute it more evenly. Sow your seed in two different directions for better coverage, at a rate of around 30g per sq m.