
Astrophotography has a magnificent way of sparking the imagination. There is a certain awe in capturing a dazzling blanket of stars and cosmic clouds with your own camera, offering a profound way to reconnect with the vast universe above us.
The good news? You do not need a massive telescope or expensive, professional-grade gear to get started. All you need is a basic camera, a sturdy tripod, and a little bit of patience. By mastering a few simple techniques, you can take your very first breathtaking images of the deep night sky and bring those distant suns a whole lot closer.
UNDERSTANDING THE BASICS OF ASTROPHOTOGRAPHY
The true beauty of astrophotography lies in its simplicity when you are first starting out. The essence of photographing stars comes down to long exposure. Because stars are not incredibly bright compared to everyday lighting, your camera requires more time to gather their faint light onto its digital sensor.
A standard DSLR or mirrorless camera is absolutely perfect for beginners. Even some newer smartphone cameras can deliver surprising results, provided they feature a manual or "pro" mode.
To control your exposure completely, you must break away from automatic settings and balance three key pillars:
- ISO: This increases your sensor’s sensitivity to light. A higher ISO reveals fainter stars, but setting it too high can make your picture look grainy.
- Aperture: This is the physical opening in your lens. A wider aperture (indicated by a lower f-number) lets a maximum amount of light into the camera.
- Shutter Speed: This dictates exactly how long your camera’s sensor remains exposed to the night sky.
PICKING THE PERFECT NIGHT AND LOCATION
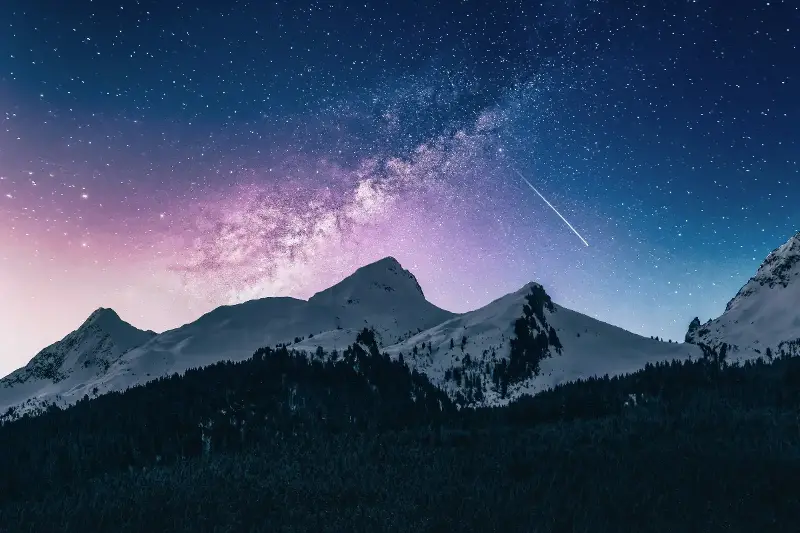
If you are eager to capture the core of the Milky Way or crisp constellations, choosing when and where you shoot is just as vital as your equipment settings.
The primary hurdle to overcome is light pollution—the artificial glow from modern cities that easily drowns out starlight. The further you travel from urban areas, the more the night sky reveals its true splendor. Peaceful rural locations, open mountains, or dark, secluded beaches make excellent natural backdrops.
For the best possible results, keep these preparation steps in mind:
- Monitor Weather Forecasts: Even a thin veil of passing clouds can block out starlight. Utilize specialized weather applications to ensure perfectly clear conditions.
- Track the Moon Phase: A crescent or new moon provides the darkest skies. A bright full moon can overpower the faintest stars.
- Consult Stargazing Calendars: Plan your adventures around major cosmic events like bright meteor showers or unique planetary alignments to capture truly standout images.
SETTING UP YOUR CAMERA: THE ESSENTIALS
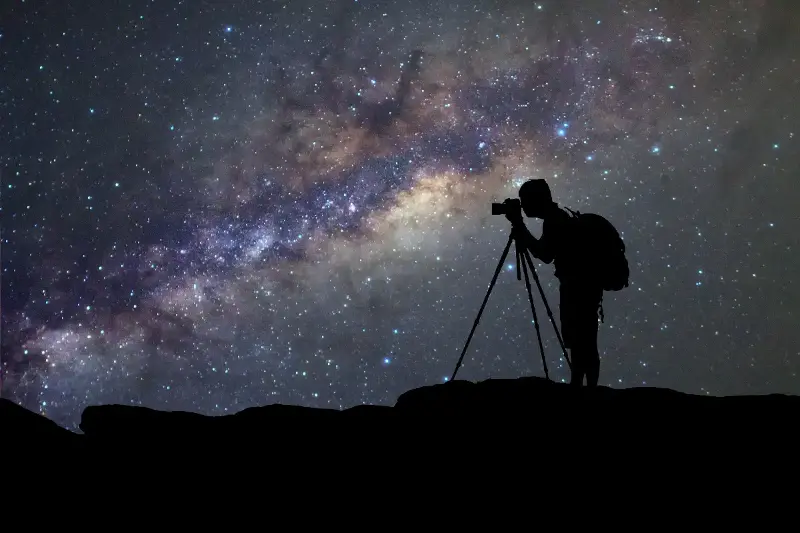
Once you have selected a pristine dark-sky location, secure your camera firmly onto your tripod and point it toward the heavens. Switch your camera and lens entirely to manual mode and try these baseline settings to start:
- ISO: Set this between 1600 and 3200 depending on your environment.
- Aperture: Open your lens to its widest possible setting, ideally f/2.8 or lower.
- Shutter Speed: Use the famous "500 Rule" to avoid blurry star movement. Simply divide 500 by the focal length of your lens to find the maximum exposure time in seconds (for example, $500 \div 25mm = 20\text{ seconds}$).
Focusing in pitch darkness can be challenging. To get sharp results, switch your lens to manual focus, turn the focus ring toward infinity, and use the camera's live-view screen to zoom in on a single bright star. Carefully tweak the focus ring until that star looks perfectly crisp. Finally, use a two-second timer or a remote shutter release so your hands do not jiggle the camera when you snap the shot.
CREATIVE COMPOSITION AND TECHNIQUES
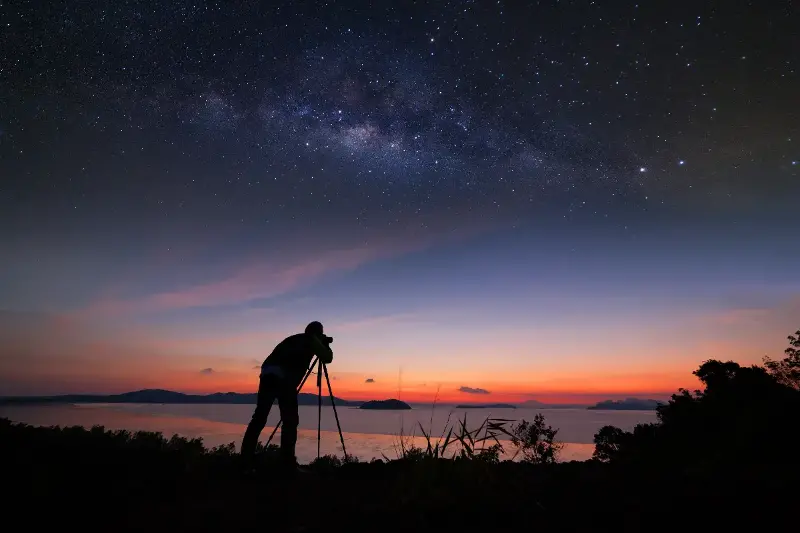
Great astrophotography tells a story. Including an interesting foreground element—such as a dramatic tree silhouette, an old rustic barn, or a distant mountain peak—creates a beautiful sense of scale. It elevates your photograph from a simple picture of stars into a powerful memory of a moment spent under the open sky.
Feel free to experiment with your perspective. Shooting vertically allows you to capture the towering arc of the Milky Way, while shooting horizontally sweeps across wide constellations.
If you want to try advanced styles, look into star trails. By letting the camera record for minutes or hours, the natural rotation of the Earth gracefully streaks the stars into stunning circular paths. You can also use mobile apps like Stellarium to map out the exact position of the stars before you even set up your gear.
POST-PROCESSING: BRINGING OUT THE MAGIC
The raw image straight from your camera memory card might look a bit flat or dim at first glance. This is entirely normal! With a light touch of editing software, those hidden details, vibrant cosmic colors, and grand structures will truly shine.
Using editing programs allows you to fine-tune your image with precision:
- Exposure and Contrast: Gently lift the exposure to reveal faint stars and boost contrast to make the dark sky look deeper.
- White Balance: Tweak the temperature to turn a muddy, yellow-toned sky into a rich, natural midnight blue.
- Clarity and Noise Reduction: Sharpen the points of light while smoothing out any unwanted digital grain.
Remember to keep your edits balanced so the final image retains a natural look. Astrophotography is a rewarding journey of patience and wonder, and every single attempt brings you one step closer to that perfect, magical shot.